
Functional prototypes in 3D printing
Functional prototypes, 3D printed for the bench: fit, load and assembly checked in engineering materials, before tooling.
The part that has to work
A functional prototype is a part 3D printed in an engineering material, true to the CAD, that goes to the bench to be assembled, loaded and checked before the design becomes a mould.
- True to the CAD, so it fits with the real parts.
- ABS or PETG when the part takes a beating; PLA to check geometry.
- Each round of changes costs a print, not a mould.
A mistake found on the bench costs less
The mistake shows up late
The simulation passes, the drawing clears review, and the part only shows the problem when it meets its neighbour: the misaligned hole, the wall that flexes, the screw that does not reach. Found after the mould, it becomes a tooling change and a slipped schedule.
The part hits the bench first
The prototype comes from the same CAD, in the material the test calls for. It goes to the bench, into the real assembly, and shows where to adjust. The fix goes back into the file and the next round comes off the printer.
The interfaces a prototype checks
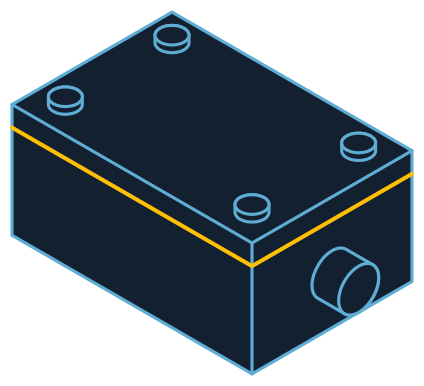
What goes wrong most in a mechanical design sits where one part meets another. The drawing is a bracket; the same goes for a housing, a cover or a fixing.
Illustrative drawing, not to scale. Each project comes from the client’s own file.
- Mounting holesScrew position and clearance checked with the neighbouring part in hand.
- Shaft seatThe real shaft goes into the printed boss: fit, alignment and clearance.
- Snap tabThe snap fit tested by assembling and taking it apart on the bench.
Spec sheet
- Input
- STL, STEP or OBJ
- Materials
- Engineering ABS and PETG; PLA for quick checks
- Tolerance
- ±0.1 mm
- Scale
- 1:1 unless requested
Full spec sheet
- Finish
- On request: sanding, primer and paint
- Rounds
- Each CAD revision becomes a new print
- Engineering review
- Feasibility, material and lead time before any commitment
- Delivery
- Made in São Paulo, shipped to every country
Printing, machining or moulding for the prototype?
The question is how many parts and how many rounds of changes are still to come.
| Process | When it pays off | What drives it | Where it falls short |
|---|---|---|---|
| 3D printing | Few parts, design still changing | Material and print orientation | Strength below an injected part |
| Machining | Metal parts or the production material | Machine time and tool access | Internal cavities and organic shapes |
| Injection moulding | High volume, frozen design | Mould cost and lead time | Every change goes through the mould |
Where a functional prototype becomes a solution
Client samples
The client fits the part into their own assembly before approving the batch.
Trade show launches
The new product goes to the booth working, before the first production part.
Training for a new line
The team rehearses assembly with printed parts while the tooling is being made.
Shop-floor fixtures
Jigs and line supports printed on demand.
From the CAD revision to the part on the bench
The lead time for each round comes with the quote.
File
The part CAD and what it has to withstand.
Engineering review
Material, print orientation and what to check.
Printing
FDM in engineering material; resin for detail.
Finishing
Only where the test needs it: a working part skips the paint.
Delivery
Ready for the bench, in the quantity you asked for.
What changes lead time and cost
No list price: the engineering review weighs these points.
- Material
- Engineering ABS and PETG take more machine hours than PLA.
- Size and walls
- Large solid parts take longer; thin walls need care with orientation.
- Quantity
- Two or three parts for a destructive test add little to each round.
- Rounds
- Each revision is a new print, so plan the test to learn as much as possible from each one.
Where a printed part does not replace the final one
Better to know before the quote.
Certification tests
A printed part does not have the properties of a moulded or machined one. Standard tests use the production part.
Heat and constant load
PLA softens with heat. ABS and PETG take more, but they do not stand in for metal.
Sealing faces
Layer lines can leak where a seal relies on the surface alone. The engineering review says when finishing solves it.
Manufacturers that have printed with Tesseract



























Common questions
Which material do you recommend for mechanical tests?
It depends on the load. ABS and PETG cover most functional cases, and PLA is fine for a quick geometry check. The recommendation comes in writing with the engineering review.
Does the tolerance hold for any geometry?
It is the working tolerance of our printers. Very thin walls, long parts and small holes behave in their own way and are assessed case by case, before printing.
Can the prototype be assembled and taken apart many times?
In ABS or PETG, yes, within the load of the fit. Tell us how many times it will be assembled: that goes into the material choice.
Do you print a batch of prototypes?
Yes, in short batches. For replacements and continuous use on the line, see on-demand parts.
Printed or machined prototype: which comes first?
If the design is still changing, the printed one: each round costs a print. Machining comes in once the geometry is settled and the test needs the production material.
What sets the price?
What weighs most is the material, the part volume and how many units go to the test. A large solid part in engineering material costs more machine hours. The engineering review shows where to save without losing the test.

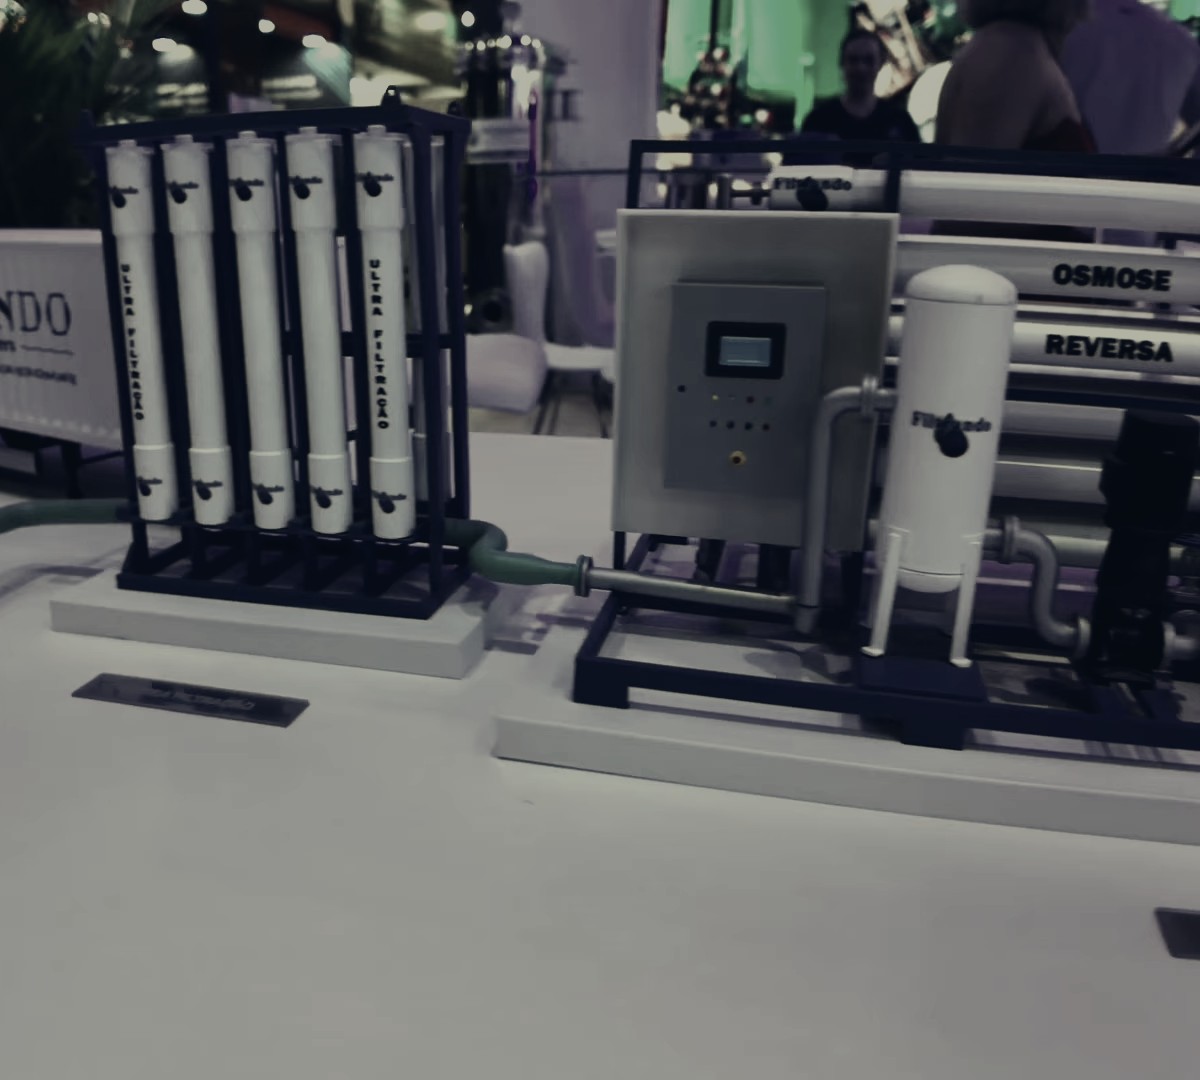 Trade show
The scale piece goes to the booth instead of the real machine.
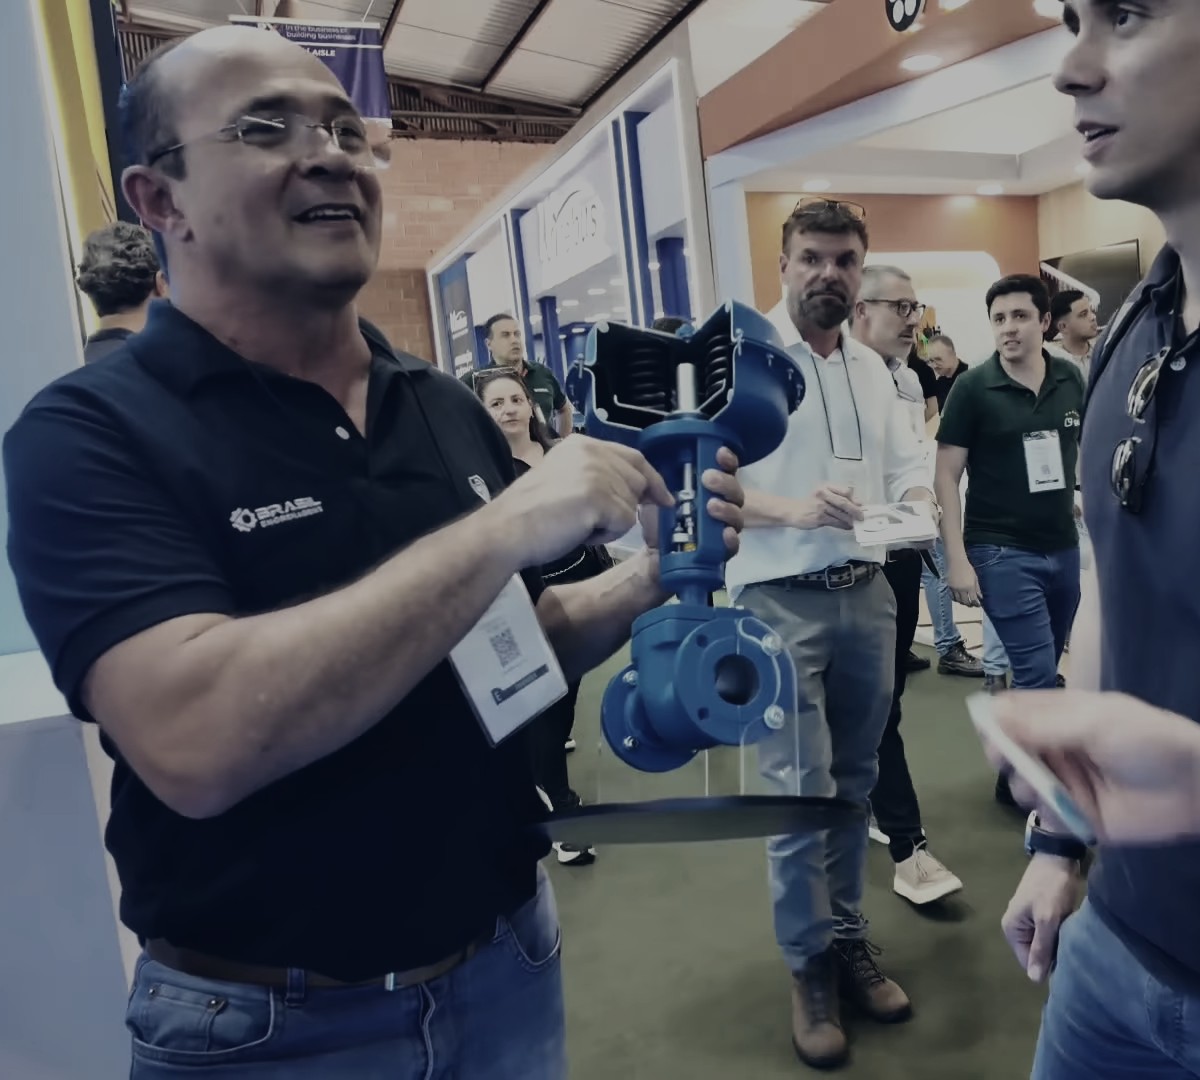 Training
The machine that cannot stop goes into the classroom, cut open.
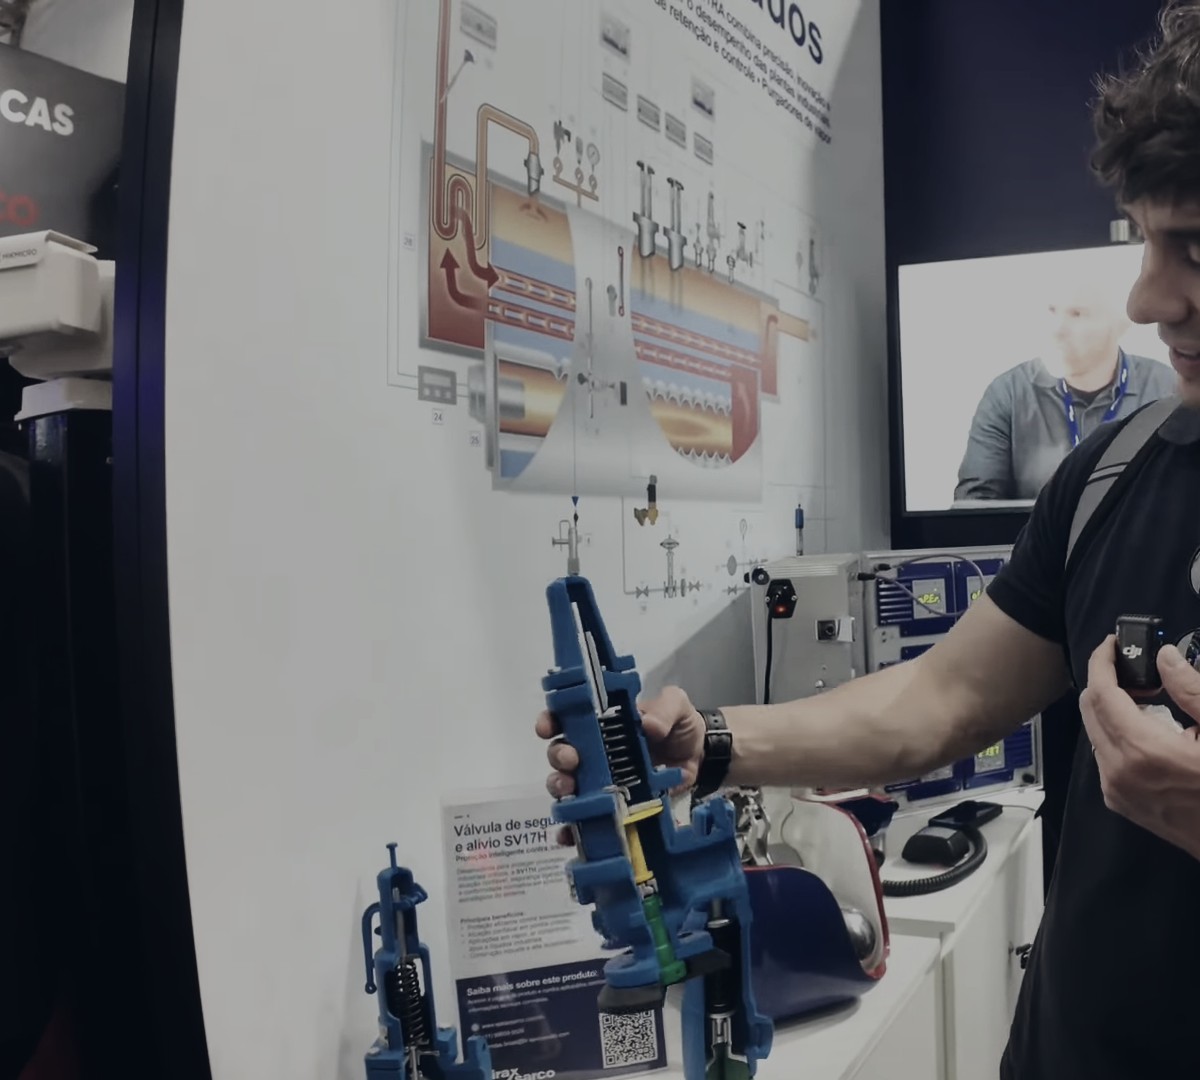 Sales visit
The rep carries in a suitcase what would never fit in one.


A part to test?
Send the CAD. The engineering review comes back within 24 business hours, with recommended material, feasibility and lead time.